
We have a limited amount of space in which to garden each year, and one of the simple innovations that allowed me to maximize the return on that space was planting carrots in pots. Carrots like a nice light dirt, and are prone to being eaten by lots of nasties that live under sod. You can visit my original carrots-in-containers post here if you'd like to know more, but this post will be a step-by-step photo guide to the entire process, from preparing a container to harvesting your carrot crop!
With the addition of compost tea or another fertilizer, you can use the potting soil for multiple years and get several harvests a year! You may have to pull some weeds the second year, but they are usually not as deep or established as ground weeds. Growing carrots in pots or containers is also a good way to avoid other common carrot pests like carrot root fly.
 |
| STEP 1: Gather your supplies. You'll need potting soil, carrot seeds, a large , deep bucket, a drill and anything you normally use for potting plants. If you're using a planter, make sure it's deep enough for the type of carrots you hope to grow and semi-straight (you can also skip the next few steps since planters will already have drainage holes). |
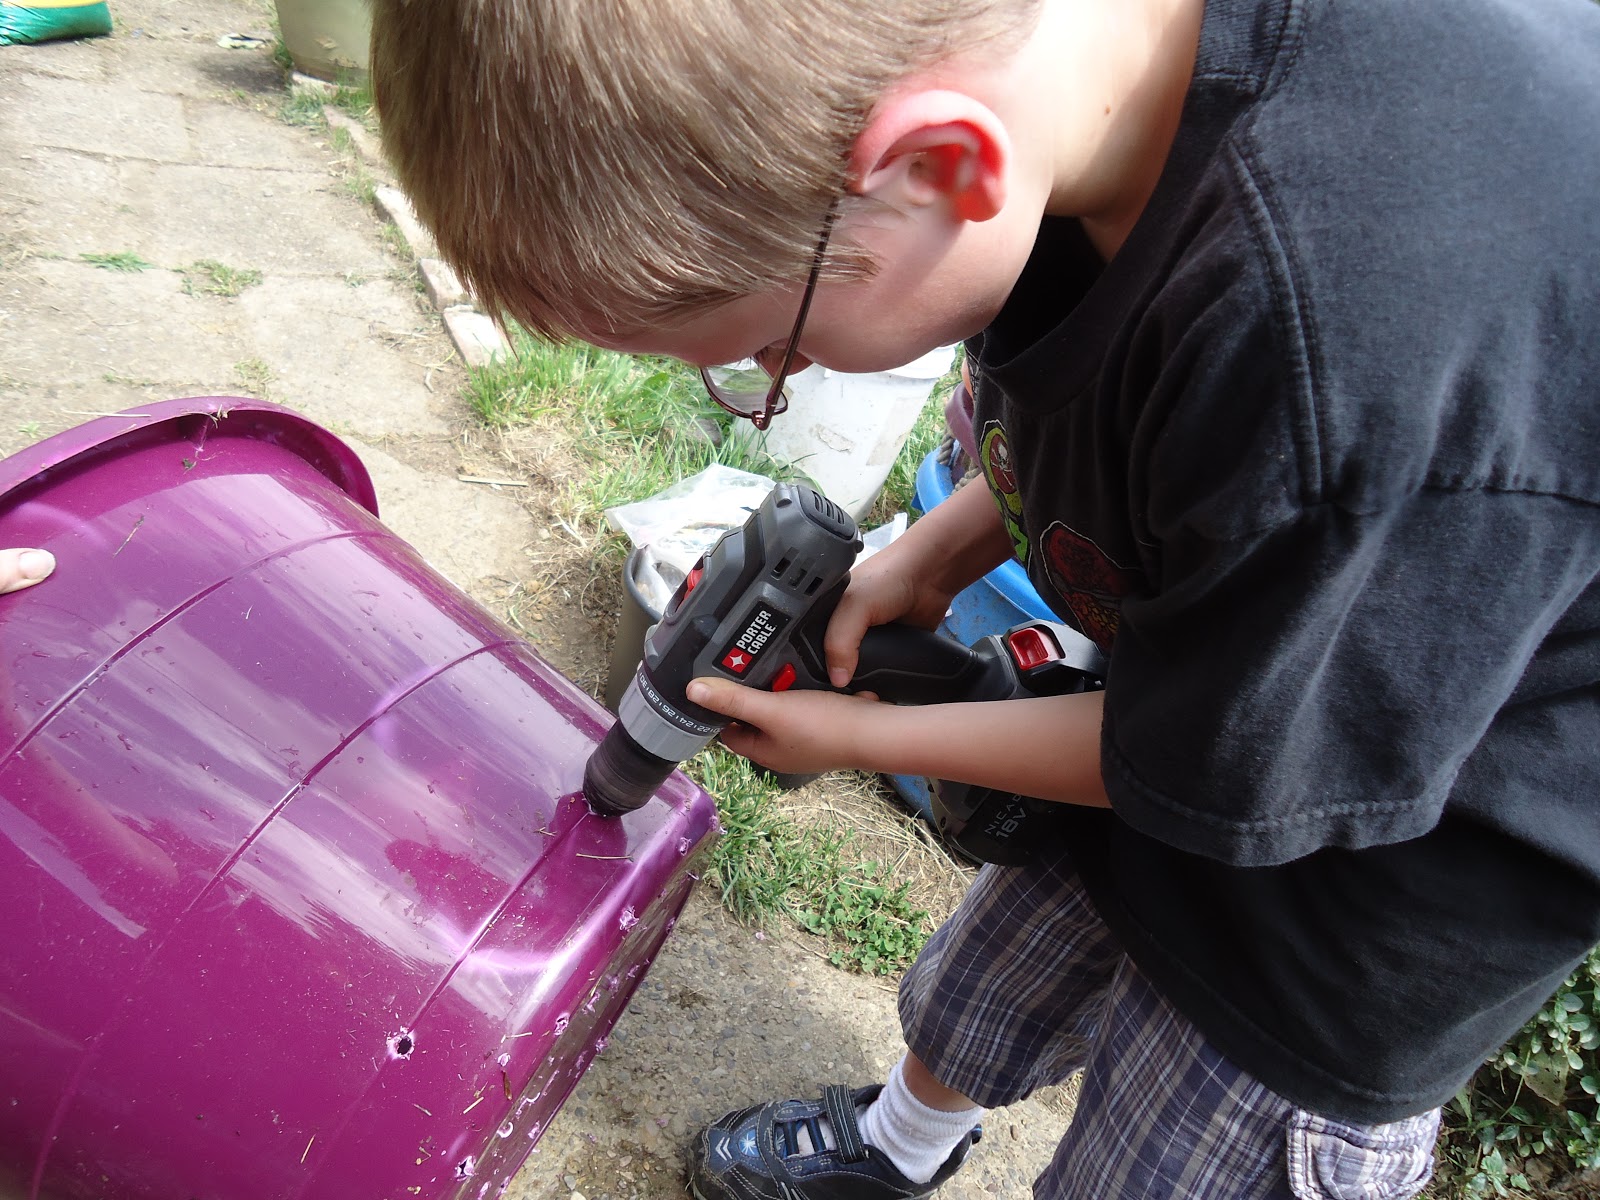 |
| STEP 2: Drill holes in your bucket around the bottom sides and all over the bottom . Carrots need drainage just like anything else planted in containers. |
 |
| Your bucket should look something like this when you are done. |
 |
| STEP 3: Fill the container almost to the top with high-quality potting soil. I leave about 3 to 4 inches of space at the top. Do not pack down your dirt, as carrots like a nice loose soil, and make sure to break up any clumps. |
 |
| STEP 4: Lightly and casually sprinkle about half of a packet of carrot seed on top of the potting soil. Try to make sure there are some seeds all over the top of the dirt and don't worry if it seems like there are too many. Carrot seeds need to be planted with a very small amount of soil on top, so you can either take your finger tips and sort of mess up all the seeds and the dirt at the surface, then lightly pat down, OR you can take a cup of dirt and lightly sprinkle about a 1/4 inch layer over the carrot seeds before lightly patting down. It's up to you! Don't over think this part, it's hard to screw up. |
 |
| STEP 5: Take a small piece of garden fabric (I use burlap) and press it down onto the newly planted carrot container. This protects your seeds from birds AND from being moved around too much by the water spray, while also helping them keep moist. You can skip this step if you want, but I have had much better germination using some kind of cover. Water your container thoroughly with a gentle spray. Remember, carrot seeds are TINY. |
 |
| STEP 6: Check under your cover everyday, and remove it permanently at the first sign of baby carrots germinating. |
 |
| Your carrot container will look something like this after a couple of weeks. If the carrots aren't distributed very evenly, just make sure to try and sprinkle the carrot seeds more evenly next time. |
 |
| STEP 7: Try to thin your carrots when they are a few inches tall. I pull mine entirely out, but you can also pinch them off if you find that this disturbs the soil too much. Try to leave enough space around each carrot to allow it to grow to the thickness of the variety you planted. |
 |
| A few weeks before harvest your buckets will be filled with tall bushy carrot tops! |
 |
| STEP 8: Pull your carrots! You can sweep away the dirt at the top of your carrots to check on how big they are getting. Harvest according to the variety you planted. I pulled these all at once, but you can leave some carrots in the buckets and harvest as needed. You may not want to do that if you need the container to re-plant, but that's why I have 6 buckets in various stages of growth at all times! |
With the addition of compost tea or another fertilizer, you can use the potting soil for multiple years and get several harvests a year! You may have to pull some weeds the second year, but they are usually not as deep or established as ground weeds. Growing carrots in pots or containers is also a good way to avoid other common carrot pests like carrot root fly.


